Building your own DIY table saw opens up serious woodworking possibilities without the five-figure price tag of commercial equipment. Whether you’re a homeowner looking to level up your garage workshop or a DIY enthusiast ready for precision cuts, a custom-built table saw gives you control over every component, from motor size to blade height and fence accuracy. This guide walks you through the fundamentals, planning phases, and assembly steps so you can construct a reliable, safe machine that handles rip cuts, crosscuts, and angled work for years to come.
Table of Contents
ToggleKey Takeaways
- Building a DIY table saw costs $400–$2,500 depending on component choices, offering significant savings compared to five-figure commercial equipment while giving you full control over design and performance.
- Three core design options exist for DIY builders—cabinet saws (most stable), contractor saws (balanced portability and power), and benchtop models (compact)—each suited to different shop spaces and work demands.
- Motor size (1.5–3 HP) and electrical circuit requirements (110V or 220V) must be planned before construction; verify your panel amperage, as 2+ HP motors typically demand 30–50 amp circuits.
- A DIY table saw requires five essential components: a properly-sized motor, a true-spinning arbor assembly, a flat table surface (cast iron or hardboard), a parallel fence system, and precise blade elevation and tilt mechanisms.
- Safety integration is non-negotiable: install a blade guard, splitter, anti-kickback pawls, emergency stop button, and always use a push stick; test all systems unpowered before first use.
- Assembly typically takes 40–80 hours and benefits from professional welding help ($100–$200) if you lack experience, ensuring a square frame and accurate table surface critical for consistent cuts.
Understanding Table Saw Fundamentals and Design Options
A table saw is essentially a stationary cutting tool where a rotating blade extends through a flat table surface, allowing material to be fed across it. The three core design paths for DIY builders are cabinet saws, contractor saws, and portable benchtop models, each trades compactness, power, and footprint differently.
Cabinet saws house the motor inside an enclosed cabinet base, offering excellent dust collection and vibration damping. They’re the heaviest and most stable but demand dedicated floor space and a strong electrical circuit (usually 220V). Contractor saws sit on an open stand with the motor mounted externally, balancing portability with decent power, common for mixed home shops. Benchtop models clamp to existing workbenches and offer the smallest footprint, ideal if space is tight, though they typically handle lighter stock and hobby work.
Core Components You’ll Need
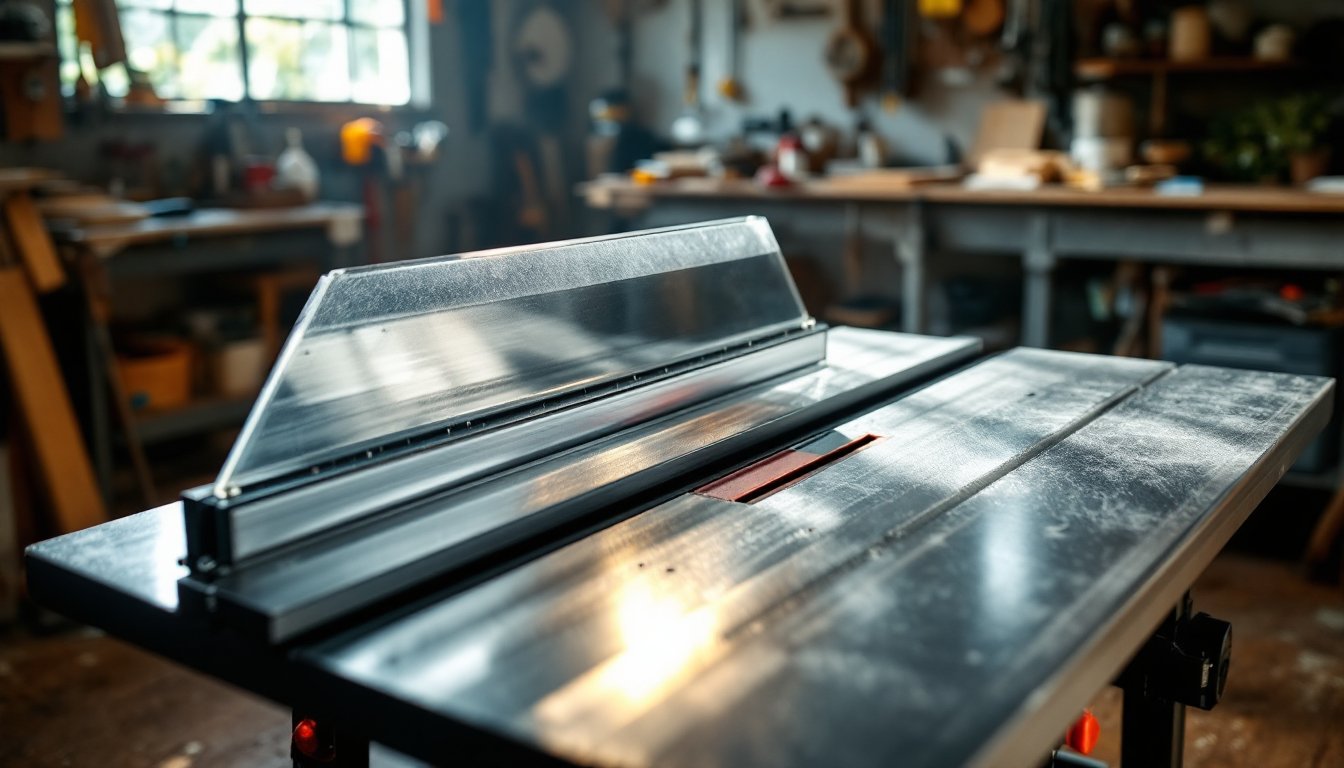
Every table saw needs five essential elements working together. The motor (typically 1.5 to 3 HP for DIY work) drives the blade via a belt system or direct coupling. The blade arbor (the shaft the blade mounts on) must spin true and accept standard 10-inch or 12-inch blades. Your table surface should be flat, typically cast iron or hardboard over a welded steel base, because any twist or warp ruins cut accuracy. The fence system, a straight guide running parallel to the blade, determines rip-cut quality: aluminum extrusion fences are easier to build and maintain than cast-iron versions. Finally, the elevation and tilt mechanism lets you adjust blade height and angle: a threaded screw or geared system works, though geared mechanisms reduce hand fatigue on large adjustments.
Most DIY builders use a motor salvaged from an old air compressor, treadmill, or purchased surplus (check local auctions or online marketplaces). You’ll also need bearings rated for sustained high-speed rotation, a V-belt or serpentine belt with pulleys matched to your desired blade speed (around 3,000 to 3,500 RPM for a 10-inch blade), and a quality blade, carbide-tipped blades last longer and cut cleaner than steel.
Planning Your DIY Table Saw Project
Before you buy materials or turn a wrench, nail down three planning decisions: motor horsepower, table size, and whether you’ll build a cabinet or open-frame design.
Motor size depends on the type and thickness of wood you’ll cut. A 1.5 HP single-phase motor handles hardwoods and softwoods for hobby and light production work: 2–3 HP lets you cut dense stock (walnut, maple) and rip wider pieces without bogging down. If you’re running 110V household power, you’re limited to smaller motors: 220V circuits unlock the mid-range options that most serious DIYers prefer. Check your panel amperage, a dedicated 20-amp circuit can safely handle a 1.5 HP motor, but 2+ HP demands 30 to 50 amps depending on motor specs.
Table dimensions start with blade size. A 10-inch blade (common and affordable) fits a 24″ × 36″ table with room for a fence and dust port. A 12-inch blade needs at least 30″ × 48″ to keep the rip fence far enough from the blade for wider cuts. Larger tables aren’t inherently better: they take up shop space and are harder to move. Most hobby shops thrive with a 10-inch blade on a 24″ × 40″ table.
Choosing Between Budget and Premium Builds
A budget build ($400–$800) uses a repurposed motor, a fabricated steel frame, plywood tabletop covered with hardboard or phenolic (plastic-faced engineered plywood that slides smooth and resists moisture), and a simple aluminum extrusion fence. You’ll handle some rough edges and likely tweak alignment more often, but it cuts wood reliably. Premium builds ($1,200–$2,500) invest in a cast-iron table surface, heavier gauge steel, sealed and ground bearings, precision-ground fence components, and a dust collection shroud. They’re quieter, more stable, and need less realignment. Your choice depends on how often you’ll use it and what wood thickness you’ll tackle, occasional hobby users lean budget: serious furniture makers or those working daily justify premium components. Many DIYers start budget and upgrade to a cast-iron table after six months of use.
Essential Tools and Materials for Construction
You’ll need a solid toolkit before assembly begins. Power tools required: an angle grinder with cutting and flap wheels (for metal prep and welding cleanup), a MIG or stick welder (or outsource welding to a local fabrication shop, around $100–$200 for frame work), a drill press or handheld drill with bits up to 1/2 inch, and a level. A circular saw or miter saw handles any wood components: a miter saw gives cleaner crosscuts on fence rails and supports.
Hand tools: adjustable wrenches, socket sets (SAE and metric), hex keys, a precision combination square, calipers for checking arbor runout, and a tape measure. Don’t cheap out on the square, a warped square ruins fence parallelism.
Materials checklist:
- Steel square tube or angle iron (2″×2″ or 2″×3″) for frame (budget 40–60 linear feet)
- Motor (1.5–3 HP, single- or three-phase) with manual or electric controls
- Blade arbor bearing set (sealed cartridge bearings, sized for your motor shaft, typically 1-1/8″ or 1-1/4″)
- Cast iron or hardboard table surface (24″×36″ minimum for 10-inch blade)
- Aluminum extrusion fence rail (T-slot or linear rail, 24–40 inches)
- V-belt or serpentine belt with matched pulleys
- 10 or 12-inch table saw blade (carbide-tipped, 40 or 60 teeth for general cutting)
- Fasteners: stainless or plated bolts, lock washers, and nuts (avoid rusting fasteners near the blade)
- Safety components: blade guard assembly, splitter, anti-kickback pawls, and a push stick holder
Resources like Instructables and Fix This Build That host detailed plans that specify exact part dimensions and material lists, saves trial and error.
Step-by-Step Assembly and Safety Features
Assembly breaks into five phases: frame fabrication, arbor and bearing installation, table mounting, fence alignment, and safety system integration.
Phase 1: Frame Fabrication (if welding yourself or hiring help). Cut your steel stock to length using an angle grinder or band saw. Lay out the frame in a rectangle with corner gussets for rigidity, a 2″×2″ square tube base about 30″ × 48″ handles a 10-inch blade setup. Tack-weld corners, then check diagonal measurements (opposite corners should be equal) to confirm squareness. Full welds come next: let the frame cool slowly to prevent warping. Grind welds smooth where they’ll contact the table or bearings. Phase 1 note: if you don’t weld, a local metal fab shop builds this faster and straighter than a beginner attempting stick or MIG.
Phase 2: Arbor and Bearing Installation. Press or bolt sealed cartridge bearings onto your arbor shaft. The shaft must spin true, use a lathe if you have access, or buy a pre-ground arbor assembly ($80–$150). Mount bearings into pillow blocks or custom-machined mounts bolted firmly to the frame. Spin the arbor by hand before powering up: it should rotate freely with barely perceptible runout (less than 0.005″ wobble).
Phase 3: Table Mounting. Bolt your table surface (cast iron or hardboard-faced plywood) to the frame so the arbor’s center sits flush with the table. The blade should sit 1/8″ to 3/16″ proud when lowered to its highest point. Use shim washers to level the table side-to-side and front-to-back, a level on the table surface guides this. Once level, tighten all fasteners in a cross pattern to avoid warping.
Phase 4: Fence Alignment. Mount the aluminum extrusion fence rail parallel to the blade using a precision combination square or dial indicator clamped to the arbor. The fence should run exactly parallel for rip cuts: even 1/16″ error compounds across multiple cuts. Lock-down screws secure the fence body to the rail once it’s parallel. Add a measuring scale along the rail for quick setup.
Phase 5: Safety Integration. Never skip this. Install a blade guard (a transparent plastic shroud over the top of the blade), a splitter (a thin metal tongue behind the blade preventing kickback), and anti-kickback pawls (spring-loaded fingers) above the table. Wire a emergency stop button within easy reach. Add a push stick holder for crosscuts and rip cuts on narrow stock, it’s not optional. An interlocked guard that disables the blade if you lift it off provides extra protection. Resources like Popular Mechanics publish detailed safety reviews for workshop equipment.
Critical safety gear before first use: Safety glasses or a full face shield, hearing protection (table saws run loud, aim for <85 dB with hearing protection), work gloves (avoid baggy sleeves), and a dust mask rated N95 or better for fine sawdust. Never wear loose clothing or jewelry near the blade. Keep hands at least 3 inches from the blade edge using a push stick. Test the fence with the blade unpowered first, then run the motor empty and listen for unusual grinding or vibration, if it sounds off, stop and check bearing tightness and arbor runout.
Motor and electrical: Wire the motor through a safety switch or magnetic starter with a manual override. For 110V single-phase motors, standard house outlets work, but run a dedicated 20-amp circuit if possible. For 220V motors, hire a licensed electrician to run the circuit, don’t improvise. Use a grounding plug and ground your frame to prevent shock risk.
Conclusion
Building a DIY table saw demands careful planning, welding or fabrication help, and honest assessment of electrical requirements and space. Start with a clear design choice, cabinet, contractor, or benchtop, and source quality components, especially the arbor, bearings, and blade. Assembly takes 40–80 hours depending on your skill level and whether you handle welding. Safety features aren’t optional: they’re the difference between a useful tool and a dangerous one. Once built, dial in the fence alignment, test everything unpowered, and take your time on first cuts. A well-built DIY table saw delivers accuracy and satisfaction that justify the effort invested.