A bland backyard doesn’t have to stay that way. Whether you’re working with a small urban lot or sprawling suburban acreage, backyard garden landscaping ideas can transform your outdoor space into something functional and beautiful, without draining your wallet. The good news? You don’t need a landscape architect’s budget or years of experience to pull it off. This guide walks you through practical, actionable designs that homeowners and DIY enthusiasts can tackle this season. From choosing the right plants to adding hardscaping structure, you’ll learn how to create a landscape that looks intentional, feels inviting, and actually suits your lifestyle and climate.
Table of Contents
ToggleKey Takeaways
- Plan your backyard garden landscaping layout before planting by observing sun exposure, soil conditions, and foot traffic patterns to avoid costly design mistakes.
- Choose native plants and well-adapted species suited to your climate and USDA hardiness zone to reduce water, fertilizer, and maintenance needs.
- Apply the 60–30–10 rule to your landscape design: 60% planted areas, 30% hardscape elements like paths and patios, and 10% focal features for balanced visual appeal.
- Add hardscaping elements such as pathways, borders, and raised beds to provide structure and define your outdoor space without breaking your budget.
- Create focal points using specimen trees, water features, or seating areas positioned using the rule of thirds to draw the eye and add purpose to your landscape.
- Layer lighting and water features—like solar path lights and recirculating fountains—to extend usability and add visual interest to your yard year-round.
Plan Your Layout Before You Start
Rushing into planting is the fastest way to regret your design choices. Take time upfront to map out your space. Start by understanding your yard’s existing conditions: sun exposure, soil type, drainage patterns, and wind direction. Observe where the sun hits throughout the day, most edibles and flowering plants need 6–8 hours of direct sun, while shade lovers thrive in filtered light under tree canopies.
Draw a rough sketch of your yard on paper or use a free garden design tool. Identify areas where people naturally walk, where kids or pets play, and where you want to relax. Hardscape elements (paths, patios, decks) should connect these zones logically. Most successful landscapes follow a 60–30–10 rule: 60% planted areas, 30% hardscape, 10% focal features. This prevents the yard from feeling either too cluttered or too barren.
Consider also your maintenance tolerance and climate zone. A low-maintenance xeriscaping design works best in arid regions, while lush perennial beds suit temperate zones with reliable rainfall. Check your USDA hardiness zone and align plant choices accordingly. Budget your materials early, quality soil amendments and mulch often make a bigger difference than fancy plants.
Choose the Right Plants for Your Climate and Space
Plant selection is where most DIY landscapers stumble. Choosing plants that thrive in your actual climate, not just ones you saw on Instagram, saves money and frustration. Start with native or well-adapted shrubs and perennials. Native plants evolved in your region’s soil and weather, so they need less water, fertilizer, and pest management.
Group plants by their water and light needs, a technique called hydrozoning. This prevents overwatering shade plants or underwatering sun-loving shrubs. In your planting beds, layer heights: tall plants (like ornamental grasses or shrubs) in back, medium plants in the middle, and groundcovers or low perennials up front. This creates visual depth and prevents plants from shading each other out prematurely.
Soil preparation matters more than most DIYers realize. Amend heavy clay or sandy soil with 2–3 inches of compost worked into the top 8–10 inches. Let amended soil settle for a week or two before planting. When planting, ensure the crown (where stems meet roots) sits level with the ground surface, planting too deep invites rot. Mulch landscaping can enhance plant health and appearance, so plan to apply 2–3 inches of organic mulch around plants, keeping it a few inches away from stems to prevent rot and pest issues.
Start with a smaller planting area if you’re unsure. It’s easier to expand a successful design than salvage an overcrowded, struggling bed. Buy smaller specimens (often 20–30% cheaper), and they’ll catch up quickly if the soil and care are right.
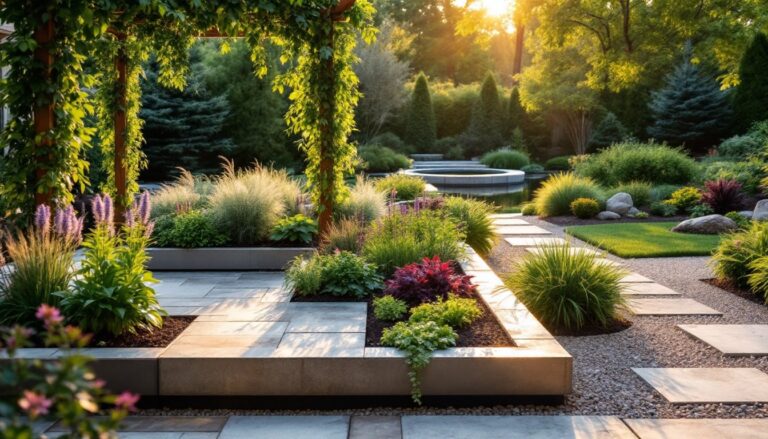
Add Hardscaping Elements for Structure
Hardscaping, the nonliving features like patios, paths, and walls, provides the backbone of your design. Without it, even great plants look scattered. Budget hardscape elements first because they define space and direct foot traffic. A simple gravel or mulch path costs less than poured concrete but still prevents people from trampling plants.
Pathways and Borders
Pathways serve two purposes: they’re functional and they’re design elements. Straight paths feel formal: curved paths feel natural. For a budget-friendly approach, lay landscape fabric over the path area, then spread 2–3 inches of mulch, gravel, or wood chips. This suppresses weeds and costs far less than pavers or stone. If you prefer something more permanent, lay down 4×4 or 6×6 pressure-treated timber edges (actual dimensions run smaller than stated, so a 4×4 is roughly 3.5″ square) to define the path and keep mulch contained.
Borders define planting beds and keep grass from creeping in. A simple 6-inch-deep steel or composite edging works well. Alternatively, stack stone or recycled brick to create raised bed edges. These also elevate your planting zone, improving drainage in poorly draining yards and reducing bending when you weed. Raised beds 18–24 inches high are especially helpful for folks with mobility issues.
For fence lines or property boundaries, outdoor landscaping concepts often include tall shrub screens instead of fencing, which cost less upfront and provide privacy while softening harsh lines. Plant them 4–6 feet apart so they fill in over two growing seasons.
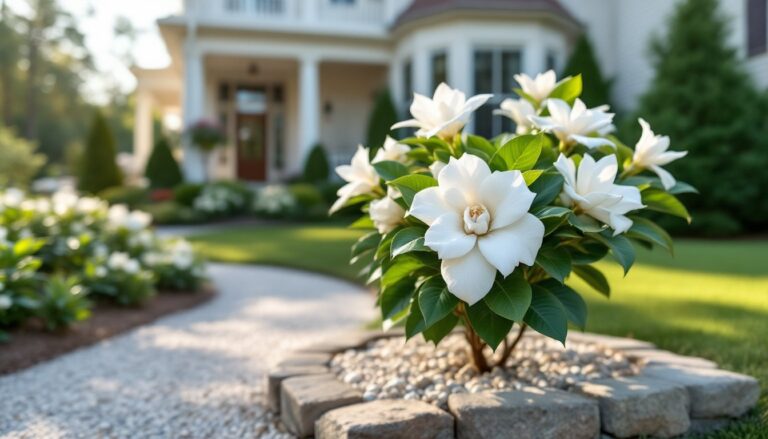
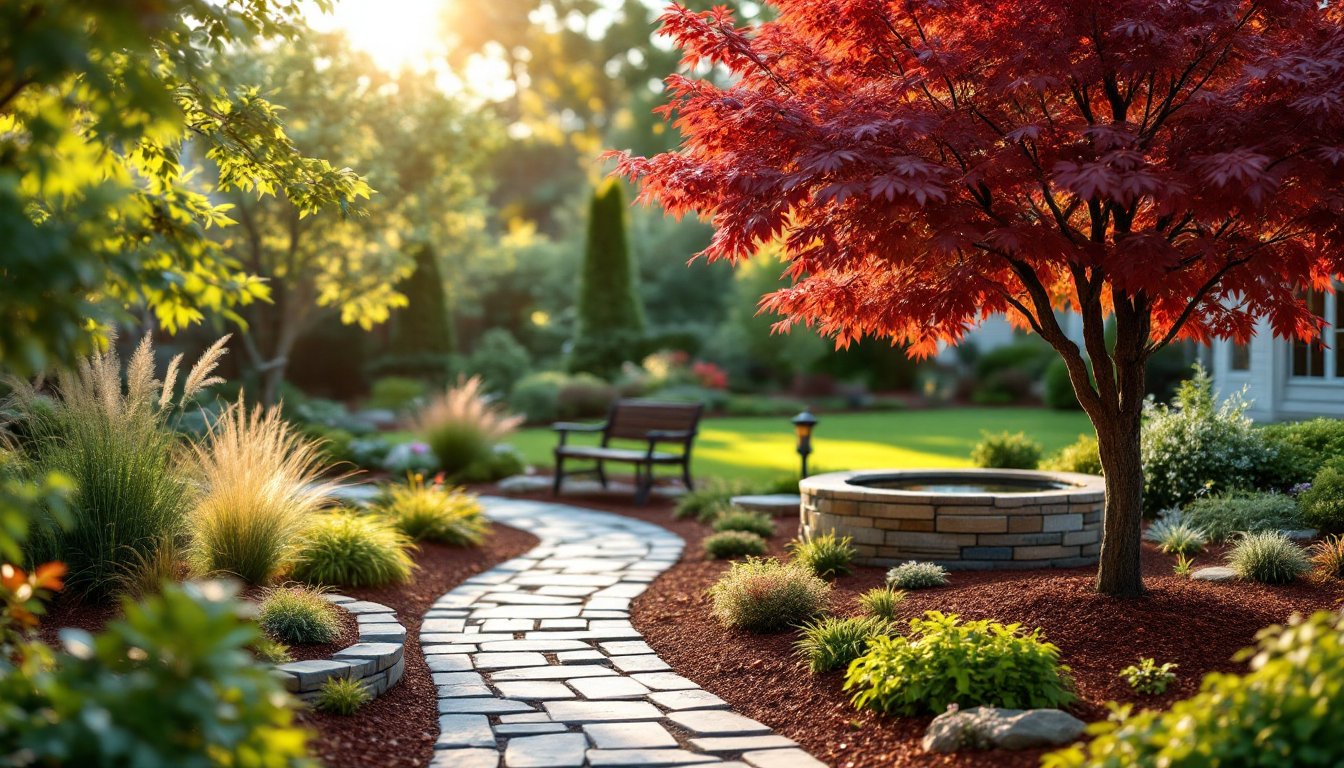
Create Focal Points and Interest
A landscape without focal points feels aimless. A focal point draws the eye and gives the design purpose. This could be a specimen tree (a visually striking plant like a Japanese maple or crabapple), a water feature, a seating area, a sculptural element, or even a well-placed bench. Focal points break up monotony and serve as resting points in the visual journey through your yard.
When placing focal points, use the rule of thirds: imagine dividing your yard into a 3×3 grid and place focal elements where the lines intersect, rather than dead center. This feels more dynamic. If you have a front-facing area, place a focal point visible from your home’s main windows or entry. Layered plantings around focal points, like shrubs framing a small sculpture or groundcover surrounding a stone, make them feel intentional rather than randomly dropped.
Seasonal interest keeps your landscape engaging year-round. Choose plants with staggered bloom times, varied foliage colors (purples, silvers, golds), and winter structure (ornamental grasses, seedheads, colorful bark). A mix of deciduous and evergreen plants ensures your yard isn’t a brown monotone in winter. Texture variation, combining fine, feathery plants with bold, architectural ones, adds visual richness without extra cost.
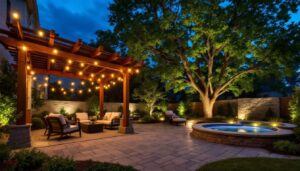
Incorporate Water Features and Lighting
Water and light transform a daytime landscape into an evening destination. A small water feature, even a birdbath or simple recirculating fountain, attracts wildlife and adds soothing sound. These don’t require a pond: a modest tabletop fountain or a small basin works well in tight spaces. Recirculating fountains use a small pump (usually 500–2000 GPH, or gallons per hour) and consume minimal electricity. Position them where afternoon sun catches the water, creating shimmer and sparkle.
For larger setups, landscape water efficiency considerations help you balance aesthetics with conservation. If you install a pond or stream, use a liner rated for at least 25 years (EPDM rubber is standard) and ensure proper drainage so standing water doesn’t become a mosquito breeding ground. A well-designed rain garden or bioswale serves double duty: it manages runoff and hosts water-loving plants.
Outdoor lighting extends your landscape’s usability and safety. Path lighting (solar options run $15–30 per light and require no wiring) marks transitions and prevents trips. Uplighting behind shrubs or trees creates drama and shadows at night. String lights (warm LED, 2700K color temperature, for a cozy feel) hung overhead create intimate gathering spaces. Layer your lighting: ambient (overhead), task (around work areas), and accent (highlighting features). Start simple with solar options to test your design before investing in hardwired systems.
When positioning lights, avoid over-lighting, it washes out color and kills the nighttime ambiance. Aim for soft, layered illumination that highlights pathways and focal points without creating harsh glare.
Conclusion
Transforming your backyard doesn’t require a designer’s credentials or a contractor’s invoice. By planning your layout, selecting climate-appropriate plants, adding structure through hardscaping, creating focal points, and layering in water and light, you’ll craft a landscape that’s both beautiful and functional. Start small, observe how your yard performs through a full season, then refine and expand. Most successful outdoor spaces grow and evolve over time, and that’s exactly how it should be.