A fire pit transforms a backyard into a gathering place, somewhere to roast marshmallows, warm up on cool evenings, or simply watch flames flicker while friends settle into conversation. The good news: you don’t need a contractor’s budget to build one. With some smart material choices and straightforward planning, backyard fire pit ideas can turn even a modest outdoor space into an inviting retreat. Whether you’re working with a small corner lot or a sprawling yard, this guide walks you through affordable options, practical landscaping tricks, and design choices that deliver real impact without draining your wallet.
Table of Contents
ToggleKey Takeaways
- Budget-friendly backyard fire pit ideas rely on repurposed materials like concrete blocks (under $1 each), salvaged bricks, and fieldstones from local sources instead of expensive kit systems.
- A simple stacked concrete block ring design requires no mortar and extends your outdoor patio season while creating a natural focal point that increases home appeal for entertaining and potential buyers.
- Fire pit landscaping on a budget uses mulch ground cover ($20–40 per cubic yard), recycled log seating, and solar stake lights to create an inviting space without expensive hardscaping investments.
- Critical fire safety requires a minimum 10-foot clearance from structures and vegetation, proper drainage holes, and a metal grate cover to prevent accidents and extend your fire pit’s lifespan.
- Strategic ambient touches like string lights ($15–40), muted-tone wood stain, and level ground preparation transform a basic fire pit into a destination gathering space that costs under $200 total.
Why A Fire Pit Is Worth The Investment
A fire pit isn’t just about ambiance, it’s functional outdoor infrastructure. It extends your patio season by weeks, creates a natural focal point for your yard, and ups your home’s appeal to guests and potential buyers alike.
Fire pits also solve a common problem: outdoor seating lacks a purpose without something to gather around. A well-placed fire pit gives people a reason to linger outside, making your yard feel more intentional and lived-in. You’re essentially creating an outdoor room for the cost of one good furniture set.
Beyond entertaining, building your own fire pit teaches you fundamental hardscaping skills, site selection, drainage, material assembly, and safety considerations. These skills transfer directly to other outdoor projects, from patios to retaining walls.
Budget-Friendly Fire Pit Materials And Designs
Repurposed Materials For Your Fire Pit Base
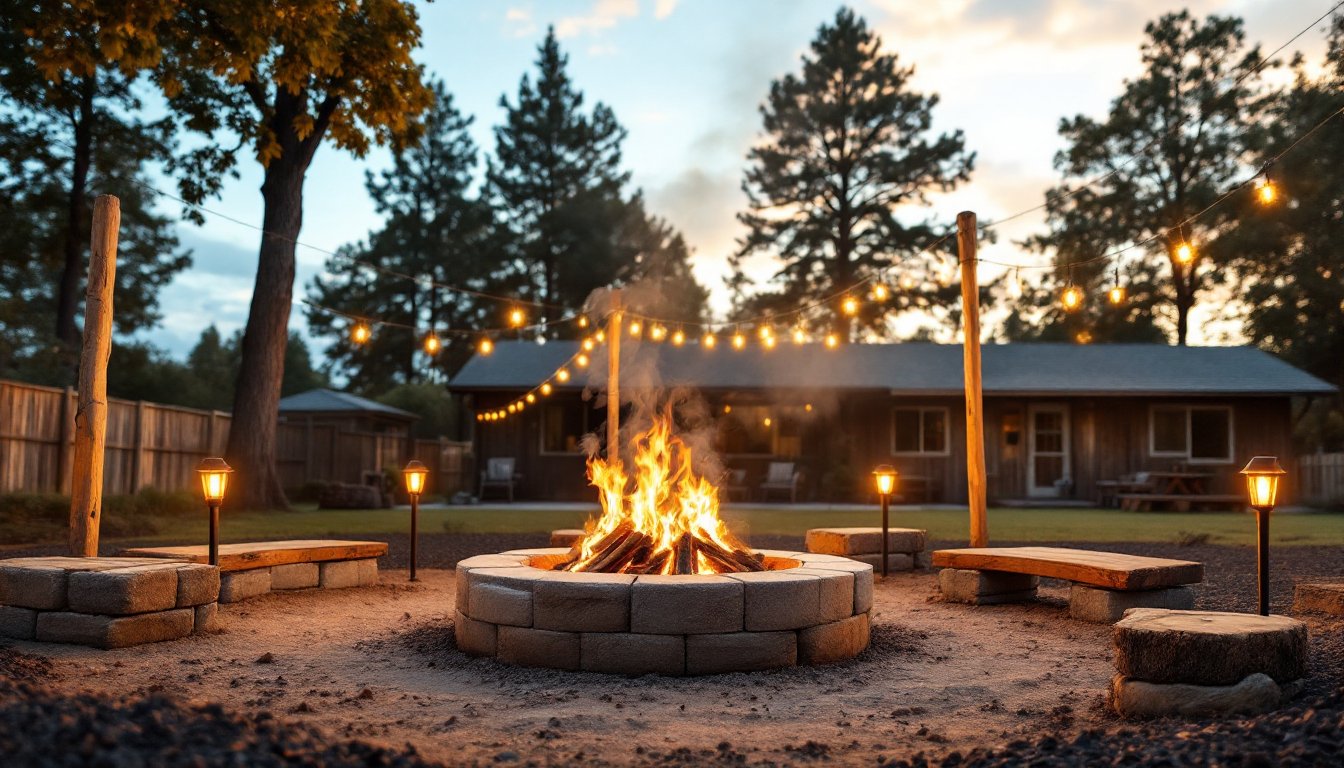
The most budget-conscious approach starts with repurposed materials. Used concrete blocks, recycled bricks, and reclaimed pavers cost a fraction of new masonry, and salvage yards often have surplus stock.
A simple ring design works best for beginners. Stack 2–3 layers of standard 8×4×4 inch concrete blocks (nominal size) in a circle 3–4 feet in diameter. No mortar required, gravity and the block’s weight hold them in place. Concrete blocks are cheap (often under $1 each), durable, and won’t crack from heat if you’re using unfinished, standard gray blocks, not lightweight decorative versions.
Alternatively, gather large fieldstones or boulders from your property or a local quarry. These create a rustic aesthetic and cost nearly nothing if you source them nearby. Lay them at least 12 inches apart to allow airflow underneath, critical for preventing heat damage to soil and roots below.
Drill a fire pit drainage hole through the lowest block or stone layer using a masonry bit. This lets water and ash escape, extending your pit’s life and preventing moisture buildup that causes cracking. If you’re using concrete blocks, the hollow cores naturally provide drainage, so simply avoid backfilling them completely.
Skip decorative ring kits sold online unless you find a genuine deal. Most are overpriced for what amounts to pre-assembled blocks. Standard concrete blocks give you the same safety and function for 80% less cost.
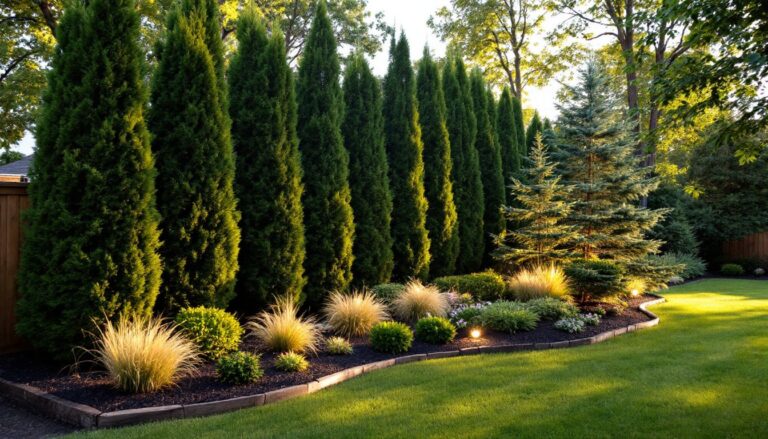
Landscaping Around Your Fire Pit On A Budget
Seating Solutions And Ground Preparation
Before placing your fire pit ring, clear the spot down to bare soil. Remove grass, roots, and debris in a circle at least 10 feet in diameter, fire safety codes require a 10-foot clearance from structures, trees, and dry vegetation. Check your local fire code: regulations vary by jurisdiction, but this is the standard baseline.
Level the ground as much as possible. A slightly sloped or unlevel base won’t catastrophically fail, but it encourages uneven stress on blocks and makes seating less comfortable. If the area is significantly uneven, remove soil to create a level pad about 1–2 inches deep and firmly compacted.
For seating, repurposed concrete blocks again shine. Lay 2–3 blocks horizontally around the fire pit perimeter, about 6–8 feet out from the center, creating informal benches. Add a flat reclaimed wood plank or thick pavers across pairs of blocks for comfortable seating surfaces. This costs under $100 for a 6-foot seating arc.
If you want easier DIY comfort, source used log rounds (cut tree trunks, 12–18 inches diameter) from tree-trimming services, often free for the taking. Stand them upright or horizontally for rustic seating. They’re not as durable as stone long-term, but they last several years and add character.
For ground surface, spread wood chips or mulch (avoid pine, which smells acrid when hot) around the pit perimeter and seating areas. This softens the space underfoot, adds visual warmth, and costs $20–40 per cubic yard for bulk delivery. Alternatively, lay down cardboard covered by landscape fabric, then add mulch, to suppress weeds without herbicides. This prep keeps your fire pit zone clean and defined without expensive hardscaping.
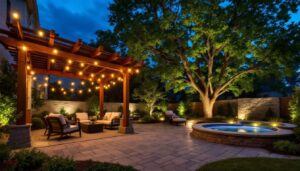
Creative Lighting And Ambient Design Ideas
Lighting amplifies your fire pit’s coziness without adding cost. The fire itself provides warmth and glow, but strategic accent lighting extends usability into darker hours and highlights your landscaping work.
Solar stake lights (under $2 each in bulk) line pathways to your pit and create subtle visual definition. Space them 3–4 feet apart along foot traffic routes. They charge during the day and glow soft amber or white at dusk, no wiring required.
String lights strung between posts or hung in a canopy overhead transform the feel from “backyard” to “destination.” Budget outdoor-rated string lights run $15–40 for 25-foot runs. Hang them 8–10 feet high to avoid heat damage from the fire pit below. This creates a festive, contained ambiance.
If you have a patio or deck nearby, paint or stain the surrounding wood in muted tones, grays, soft browns, or weathered finishes, to tie the fire pit visually into your home’s exterior. You don’t need expensive stain: a quality exterior paint (rated for decks or porches) applied in two coats costs $30–50 per gallon and covers 300–400 square feet. This unifies your outdoor space without major renovation.
Add a simple metal fire pit cover (grate or perforated steel, $20–40) if you plan to use the pit for cooking or want to control ember spread. Don’t skip this if you have overhanging branches or outdoor structures nearby. Fire safety isn’t negotiable, and a grate pays for itself the first time it prevents an accident.
Conclusion
Building an affordable fire pit boils down to smart material choices, honest site prep, and accepting imperfection. Concrete blocks and salvaged stone work as well as branded kits. Mulch and log seating beat designer fire pit furniture every time. When you approach fire pit landscaping as a hands-on project, not a showpiece, you save money and end up with something genuine: a place your household actually uses. Start small, build what you can afford, and upgrade as budget allows. The best backyard fire pit is the one you’ll actually use this weekend.